This page features more interior photography lighting styles, tips and techniques. In every photograph on our web site, the final images you see are what each client deemed ideal for them and not necessarily what we would have done if we had not had our client’s direction. We give our input, make suggestions, and ultimately shoot in whatever lighting style our clients dictate. Whenever we are able, we like to photograph with as much natural daylight as possible and fill in as necessary with artificial lighting. In our opinion, this creates the most desirable interior photography possible. Windows create situations that are either a blessing or a nightmare, and we are seeing a trend toward letting the outdoors show minimally if at all.
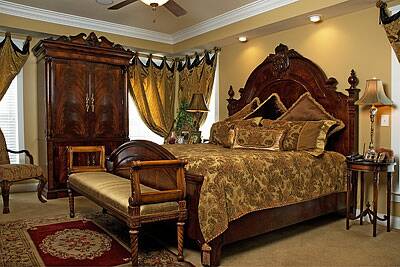
Here is a perfect example of combining natural and artificial lighting in a photograph. Our customer wanted the light from the window coming through the window treatments, a little of the overhead lights above the bed, but also be able to see the window treatments clearly and not have the ghosting effect of blown out windows. It was also important that the warm tones in the furnishings be preserved. Tips for photographers: balance your flash with the natural light using a higher f-stop. Be careful not to create hard shadows behind objects like the ceiling fan blades.
This was an office interior that we photographed for a magazine. The magazine wanted the warm tones of the wall panels and the lights under the counter top on the right to show, but did not want the lamp light on, and wanted to preserve the coolness of the greens and whites. This is a trend we are seeing more lately, especially in magazine photography. The lamps are left off and most of the interior is natural with some fill-in flash to bring out details and lighten shadows, but there is very little warm lamp light in any of the images. Tips for photographers: make sure you properly color balance your images to keep from having the interior come out too yellow or orange.

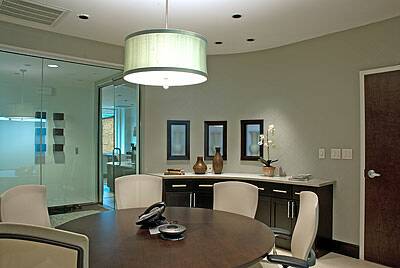
Another interior office image for the same magazine, where the client requested overhead and spot lighting, but enough flash to make the details of the cabinets visible. Tips for photographers: be careful not to let overhead lights blow out too much. If no other option is available to you, be sure to photograph twice, once for the overall room and once for the lights, so you can compile one corrected image later in your photo editing program.
This is another good example of a lighting situation where the client wanted to show the warm tones of the woodwork, the lights under the cabinets, but also the natural daylight coming in from windows and doors, and still be able to see outside. Tips for photographers: don’t overcompensate with flash, it isn’t always necessary to see every leaf on the trees outside, just a hint of what’s out there will do fine. A longer exposure will let you capture more in the darkest areas.

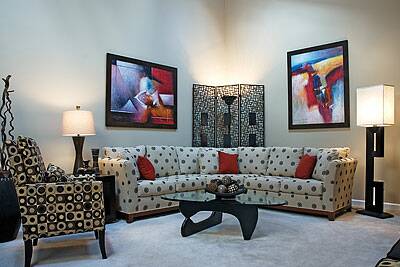
In this room, there was little natural lighting at eye level, but there were two skylights overhead. The client wanted to retain the cool tone effect but also be able to get the lamplight against the walls without going too warm. Tips for photographers: make sure your lighting matches the style of the interior. Yellow or orange color temperatures lend themselves well to the cozy, cabin interiors but would not convey what the designer wanted for this photograph at all. Keeping our light temperature cooler here helped us achieve our client’s goals.
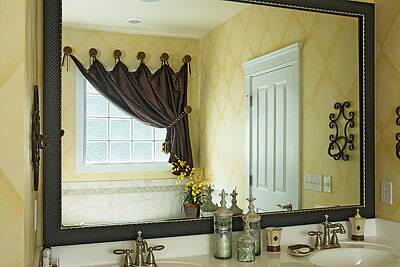
Here is a classic example of a problem interior. In this room, the sunlight was very harsh, and taken wtihout any flash it caused the window to blow out dramatically, reducing the visual appeal. We worked in a very small space and achieved a thru-the-mirror shot by combining two photographs–one exposed properly for the room and one exposed properly for the window–to achieve our client’s goal. Tips for photographers: always look for alternative ways to photograph in small spaces. Mirrors provide ways to give more depth and dimension to a tiny space. Just make certain you or the camera don’t show up in the mirror. Photography isn’t just about camera knowledge, it’s also about creativity and thinking through problems.
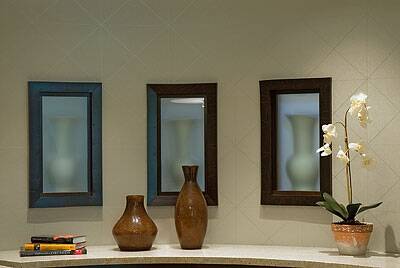
A close-up shot in an office interior with a spotlight to place emphasis on the orchid. Spotlights can create subtle or dramatic effects for vignette images. Tips for photographers: don’t always go for the “big picture” by trying to capture everything in a room in one image. Be sure to give your client some close-up vignettes also, and while you’re composing an image think in terms of where copy might go if the image is used for a magazine ad. Make sure you know the purpose of your photography for each client.
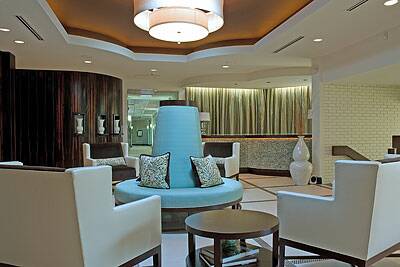
In this example of commercial interior photography, the client requested the specialized lighting be visible over the curtains and under the counter top on the right, but also be bright and crisp to show the details of the furnishings. Make certain your photographer knows what is most important to you. Tips for photographers: Ask you client to be specific regarding their ultimate goals for each image. Unique ceilings or special-ordered lighting, custom furniture or flooring may be the focus of the photography session. Match your angle and style of photographing to what your client wants.
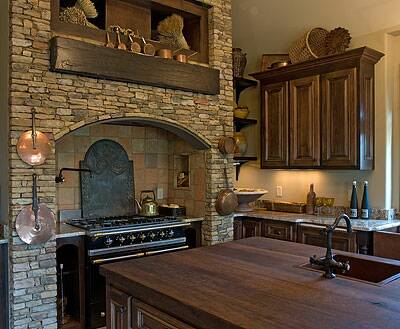
In this photograph, our client specified that they wanted the natural light from the outdoors to show on the cabinets and counter tops, but also wanted the warm glow of the lighting under the cabinets. Tips for photographers: too much flash will completely override some of the more subtle tones in an interior. Make sure you keep in mind all the important features of each image. Sometimes you will need to adjust your f-stop, your aperture, the strength of your flash, and check for any additional ways to let more or less sunlight into a room…all in one image. Keep your focus on your photography, not everything else going on around you.